• Art & Creativity

    How to Create from Imagination

    You have an idea you think is out of your skillset; what do you do? Do you attempt it anyway, knowing there’s a possibility it won’t come out as you plan, or do you store it in the never-ending vault of someday?

    Part of learning to create from imagination is creating freely without the pressure of “the something” turning out good.

    A rough idea and a blank page were how my journey into creating from imagination, or in my case painting, started.
     It didn’t matter whether the idea was above my skill set; I simply refused to fail before even trying.
    Here are a few things I learned when creating from imagination:

    1. You would be surprised what you can do if you enjoy every step instead of laser-focusing on the final result

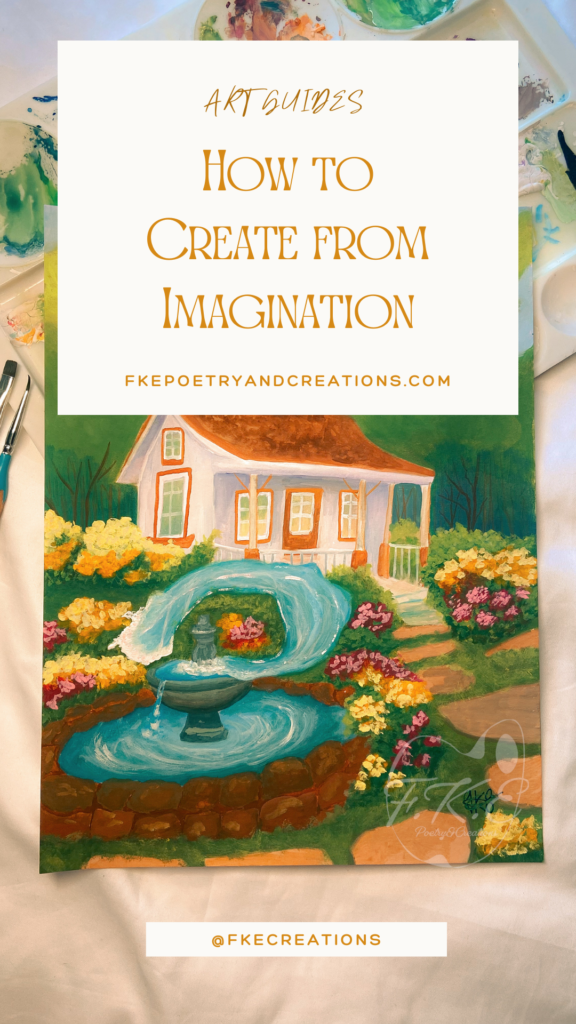
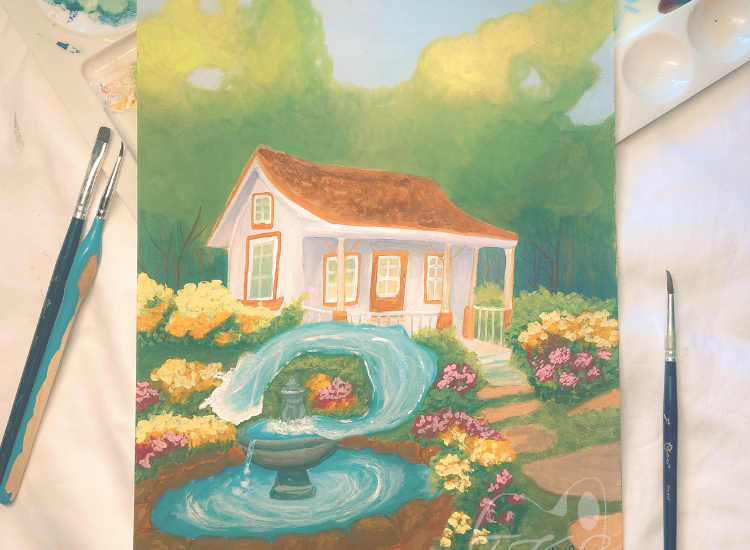
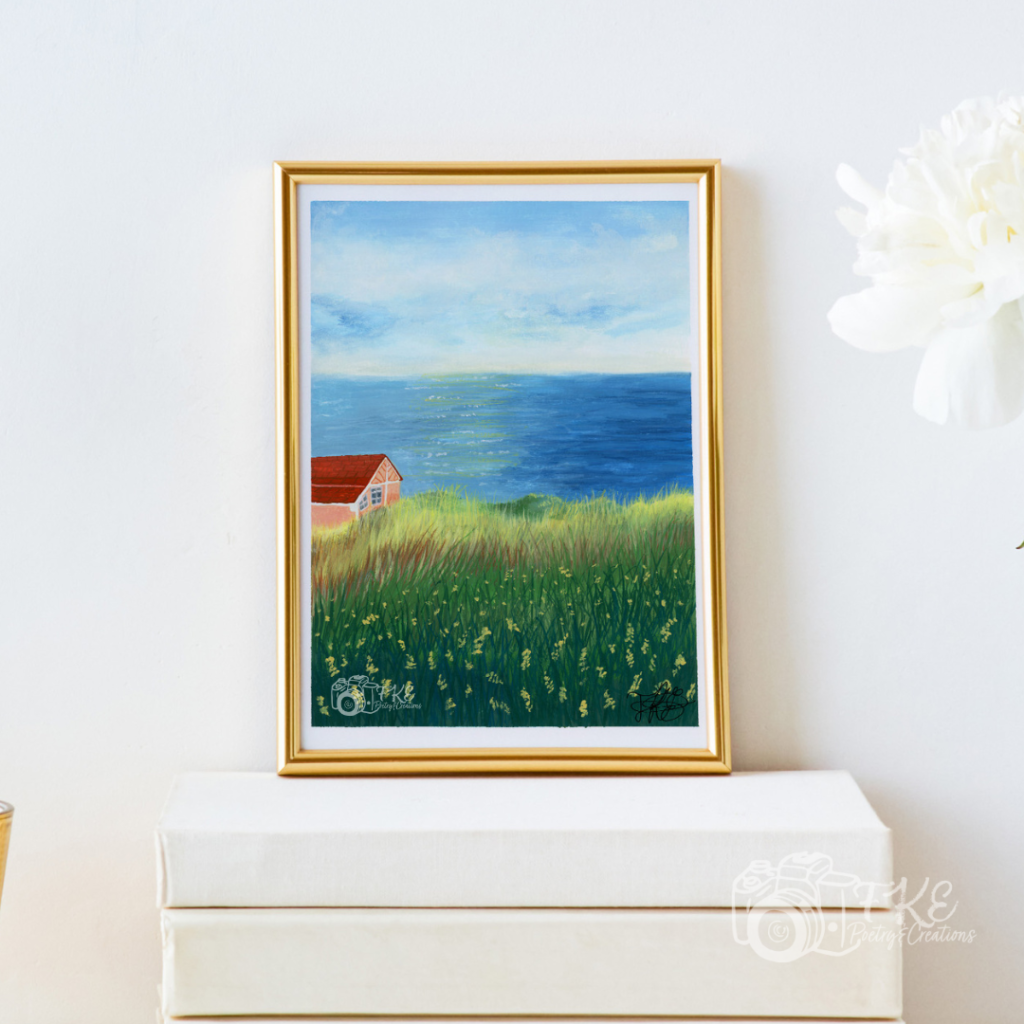
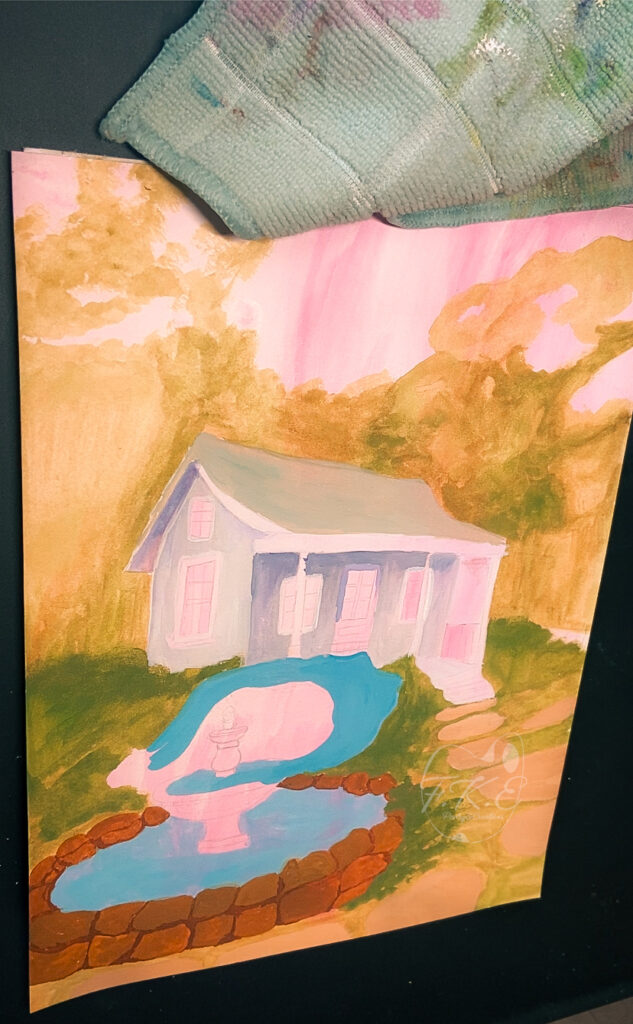
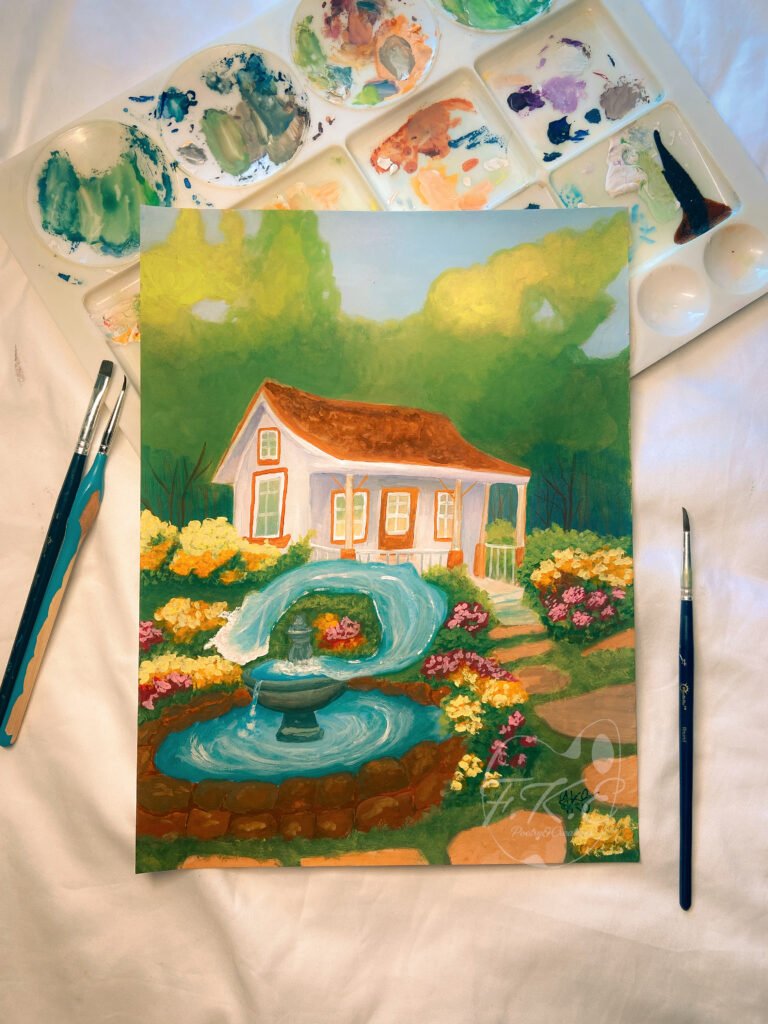
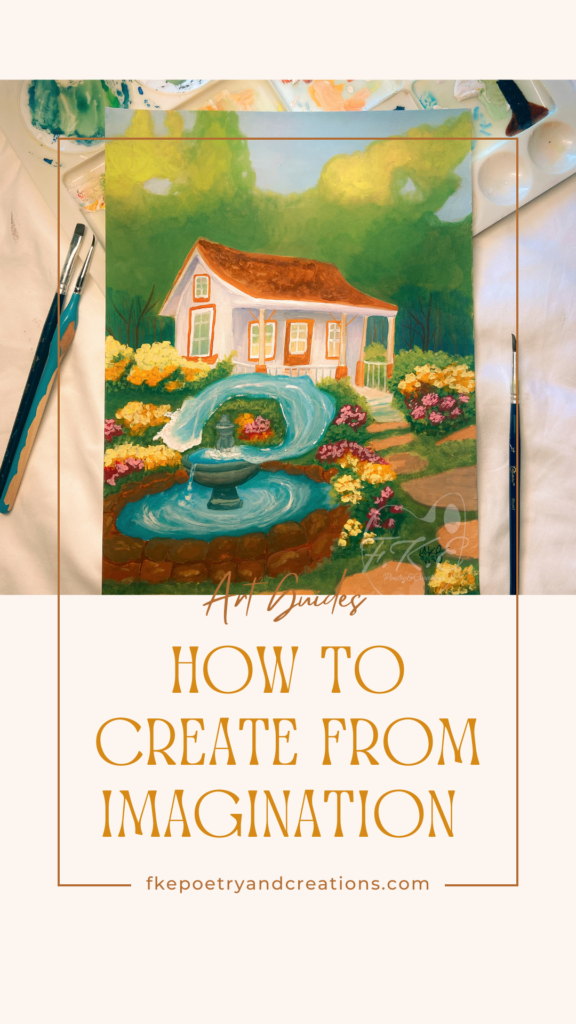
    Take this piece for example; I knew I wanted to paint a cottage-looking house, I wanted magic to be shown somewhere, and I wanted water. Simple enough, right?

    So, I started with a layer of background colors and then got to work on what I knew I could paint.

    2. Start with what you can do first and focus on what you don’t know later.

    Once the house had base layers and looked somewhat okay, I moved my attention to what surrounded it. Adding in little bushes and grass all around the house, I was calmer and more peaceful during this step, feeling as though everything was running smoothly.

    3. Look fear in the face and laugh.

    At this point, I was still unsure of how I wanted the water to look, but I knew where I wanted it to go. The problem was that everything looked so good, and the magic water could mess it all up. However, instead of giving in to fear, I turned my music up and started singing.
    4. Slow and steady.

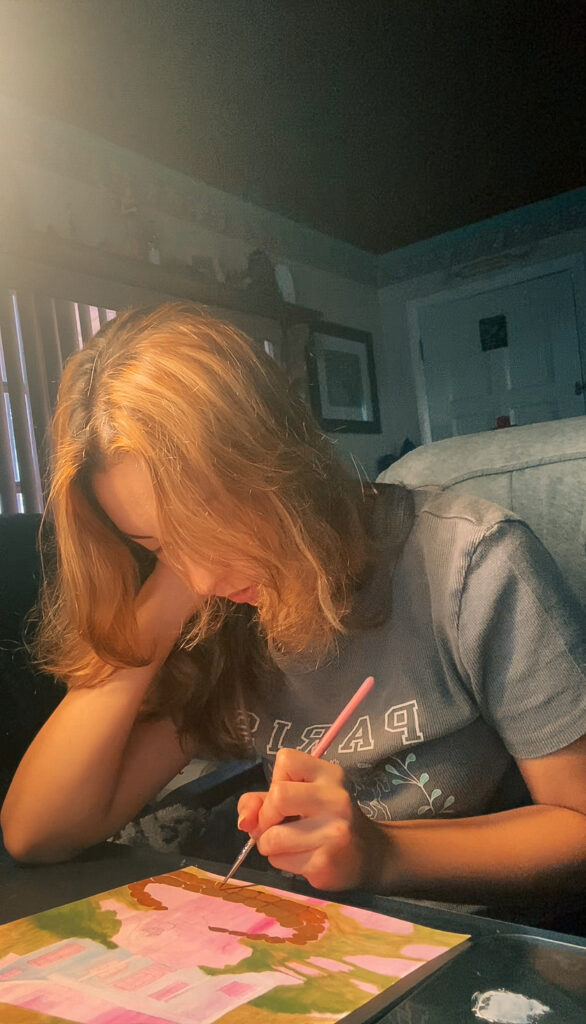
    After a few hours of filling in all the elements of the artwork I wanted (including the magic water), I put the piece on hold for the next day.

    I spent a few more days on it, little by little adding details and fine-tuning the piece. After all, when completing something, it’s best to look at it with fresh eyes instead of the need to finish it immediately and move on.

    If you try the steps above and still feel like you can’t let loose enough, you might want to try this:

    • Have a sketchbook dedicated to imperfect sketches and attempts at drawings.
    • Tell yourself you are going to work on this idea five minutes of your time (normally leads to more time spent on the idea).
    • Creating in a new medium when you know you haven’t tried yet or aren’t that good at (take some of the pressure of a perfect product away).
    • Remember, no one ever has to see the result.

    Feel free to comment on some of your own ideas, contact me with any questions, or just chat on Instagram @fkecreations (the link is on the menu bar or homepage).

    Pin for Later
  • Art & Creativity

    5 Main Tips When Working with Gouache

    Beautiful artwork and illustrations bring people to life. They spark imagination, inspiration, desires, emotions, and so much more. More and more, I see gouache being used by many artists for illustration purposes.

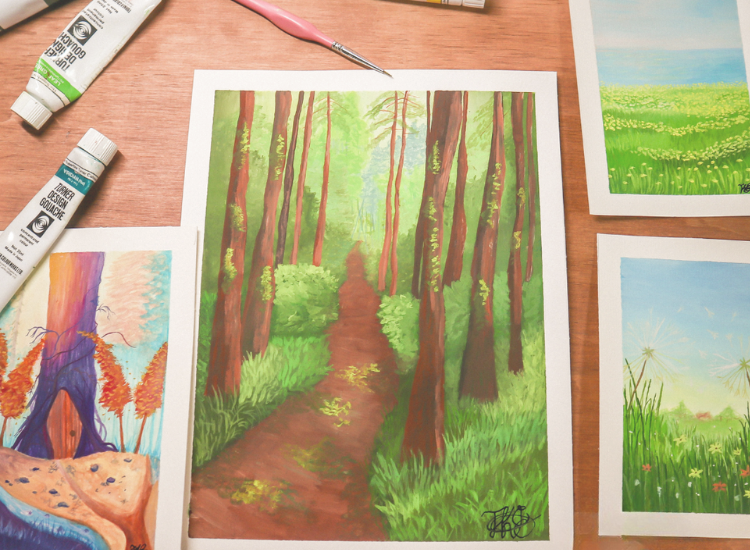
    Highly pigmented and water-soluble paint is what allows gouache its flexibility, balanced color coverage, and matte finish, which is sought after by many artists.

    Paint notes

    • Gouache tends to dry lighter than it appears when wet.
    • The thickness of the paint often resembles oil when blending
    • Can be used on colored paper thanks to high pigments
    • Works well with mixed media (color pencils, ink, etc…)
    • Needs a seal that is not water based

    Tips for Painting In Gouache

    Tip#1: Start with Dark to light and remember when placing down watery paint on a piece the water could cause the bottom layer to activate. To avoid this, I tend to use less water when laying down my light colors.

    Tip# 2: If you’re an artist who likes to frame your pieces with masking tape, this tip is for you. Before starting a piece, paint over the strips of masking tape with paint that matches the color of the paper you are working on.

    This technique helps provide you with clean edges in any medium.

    Tip#3: The best type of paper for gouache is watercolor paper. Use a cold press if you want your painting to have texture and hide your brush strokes. Use hot press paper if you want your brush(I prefer to use hot-press paper).

    Tip#4: Gouache is a versatile medium, meaning it can be used like you would use watercolor. I recommend using gouache tubs if you plan on using gouache more water.

    Tubed gouache is also great for traveling. Himi tubs are normally small and can be bought in bundles on Amazon.

    Tip5#: Mixing mediums with gouache is highly recommended. Gouache is perfect for adding fog to acrylic pieces or rays of sunlight. Also, highly recommend using gouache with colored pencils to help give a piece more vibrance and texture

    We’ve all seen those Himi gouache cubes that look so aesthetic and cute. If you’re someone who loves aesthetics, you might have been convinced to try gouache even before reading this post.

    If that’s the case, go ahead and try it for the aesthetic I did, and it helped revive my love for art and the creativity in my soul. If you’re interested in reading about my artwork and creative process, feel free to read about it here.


    If you’re an artist or creative person, feel free to comment or follow me on Instagram and Pinterest. I would love to hear from you, so make sure to introduce yourself on your favorite Instagram post of mine so I can check out your page or send me an email.